This pages supplements the presentation Building Nano Services with OSGi Declarative Services at EclipseCon Europe 2016
It contains product and project configurations for Eclipse Oomph Installer.
If you have questions you can use the Gitter Chat room
open a terminal/shell create a installation directory <instDir> e.g. mkdir ~/ece2016-osgi-ds
ece2016 products [required only after initial installation]ece2016 products the product you want to install IDEfix for OSGi Oxygen and press Next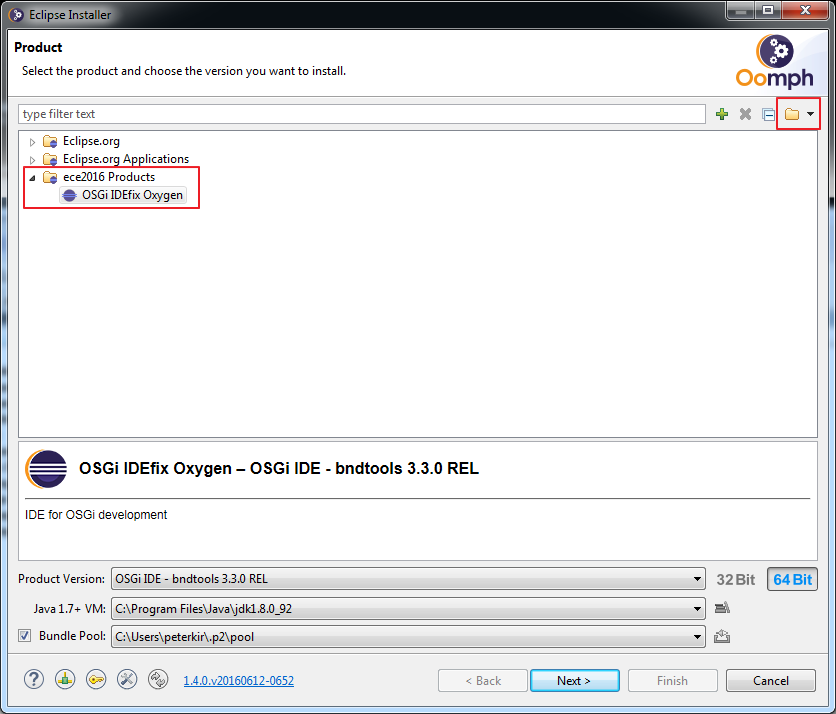
OSGi projects [required only after initial installation]ece2016 projects and check the project ece2016 on and press Next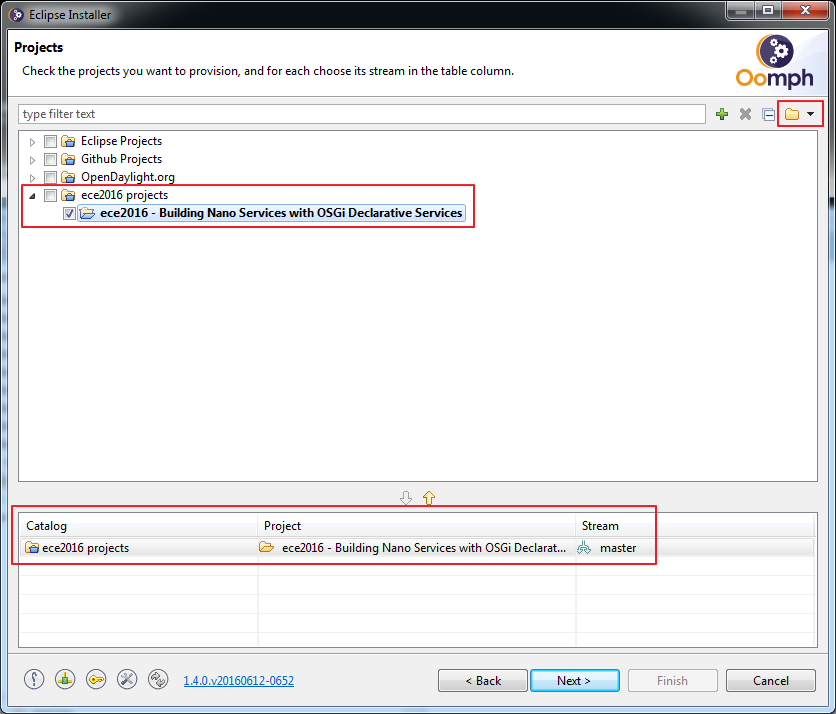
Next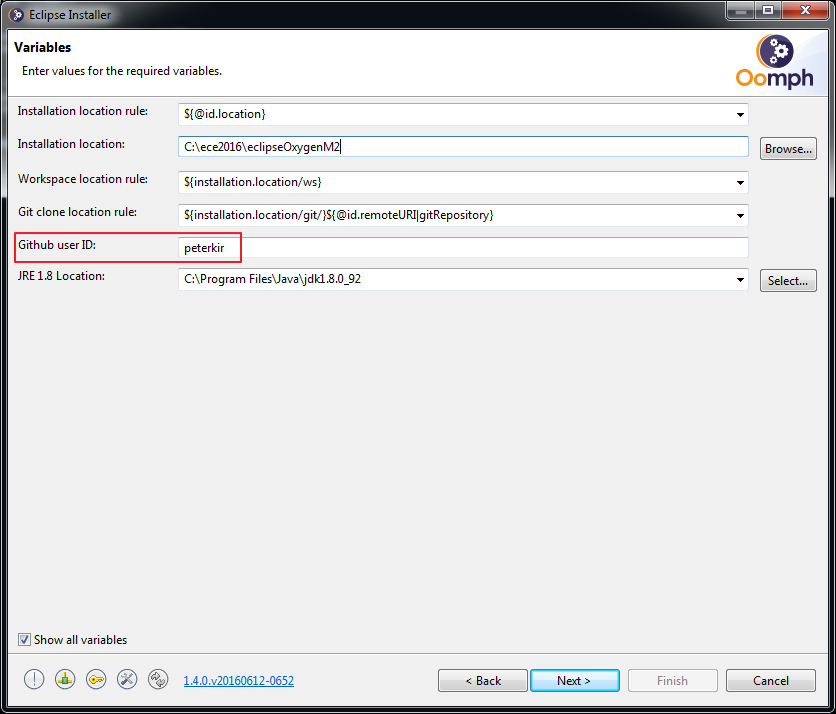
Finish<githubProject-branchname>\eclipseInstaller\eclipse.exe<githubProject-branchname>\Eclipse.app<installDir>\eclipseInstaller\eclipse.exe<installDir>\Eclipse Installer.appthe installation creates (additionally to the <installDir> folder) following directories (~ means %USERPROFILE% on windows)
~/.eclipse/org.eclipse.oomph.* containing the oomph preferences and user-specified variables~/.p2 containing the shared bundle pool for all oomph installations